
Shifting
In this article, you’ll learn what shifting is, why it’s necessary, and how to practice it.
What is shifting?
Shifting is the act of changing positions on the violin. The placement of the first finger dictates the position you’re in. For example, on the A string, if the first finger is on “B”, you’re in first position, but if the first finger moves up to the note “C”, you’re now in second position. The process of moving between these positions is called shifting.
Why is shifting necessary?
There is one reason why shifting is necessary, and two reasons why it can be helpful.
Shifting is necessary to play notes not available in the current position.
Say you’re playing in first position and come across this note:
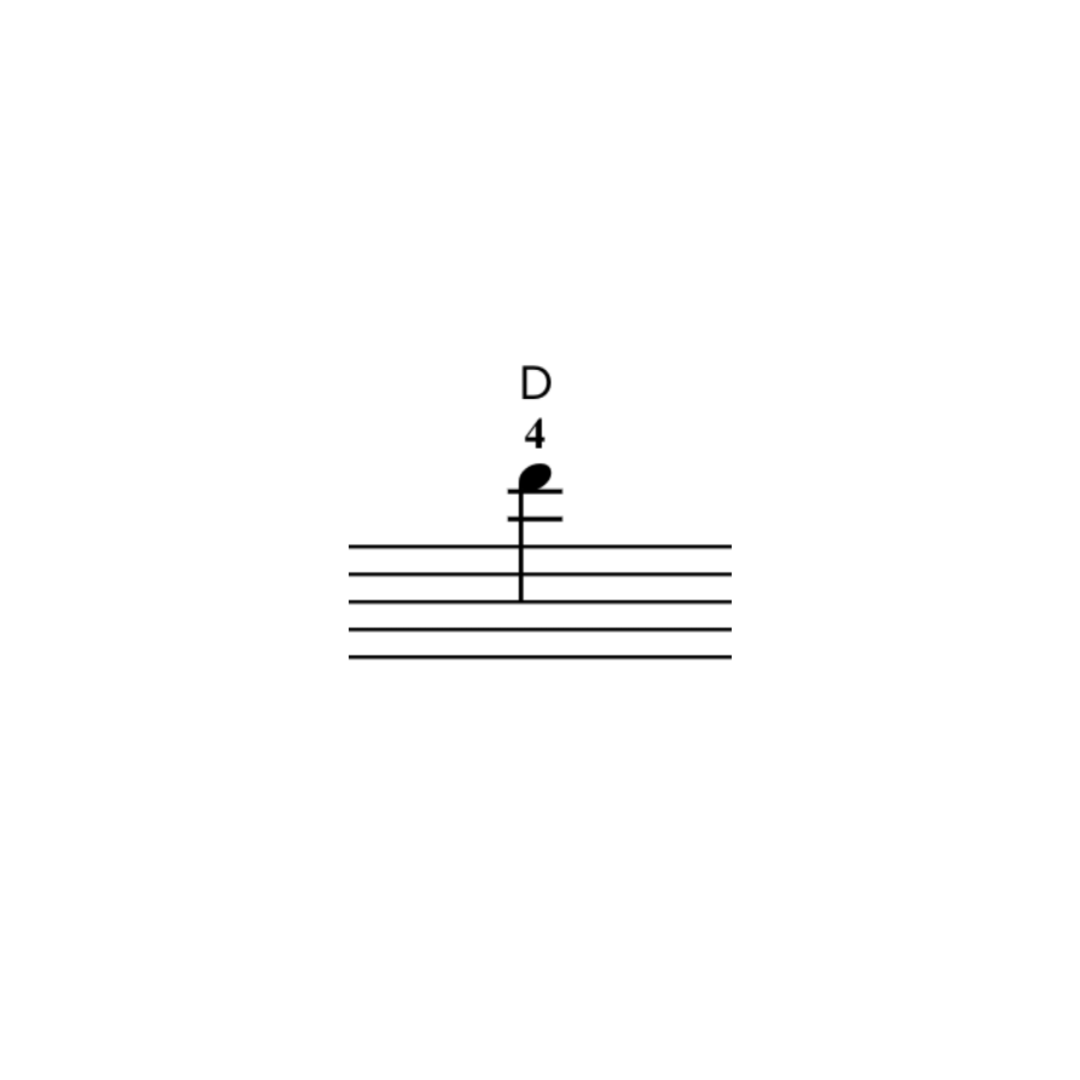
This is a high D, which is impossible to play in first position, so the player must shift up to at least third position (as this is the highest possible note in third). There are many more notes on the violin than the few that are in first position, so learning how to shift helps unlock new possibilities of notes and repertoire.
Shifting is helpful for eliminating string crossings and creating different tone colors.
String crossings are challenging, especially when they are in quick succession, and many times it’s possible to eliminate (or significantly reduce) them through shifting. For example, if you come across a passage made up of mostly D, E, F#, and G, instead of staying in first position and crossing between the A and E strings, you can shift to third position and play all of these notes on the same string (A).
Shifting is also helpful for creating different tone colors. Every string on the violin has its own unique sound, and the sound of each string changes depending on which position you’re in. For example, playing a passage in first position on the A string is going to sound vastly different than playing the same passage in eighth position on the G string. Players can pick and choose when to shift based on the sound they’re looking for in certain passages.
There are two key principles behind shifting.
Shift rather than jump.
Unless the shift occurs during an open string, one finger must remain on the string at all times.
The thumb and first finger act as a unit.
The thumb should always be moving with the hand and parallel to the first finger. It is common for the thumb to get left in the old position, especially during downwards shifts (going from a higher position to a lower position).
Learn to shift in 3 easy steps
This exercise helps begin developing the shifting motion by practicing shifting between first and third positions on an open string and matching the pitches that you’re shifting to and from. Start by playing two 3rd fingers on the E string in first position (A). Then, play two open E’s. While playing the open E’s, shift up so that your first finger takes the place of your third finger (on the note A). You are now in third position. Play two 1st fingers. The pitch should match what you previously played with your 3rd finger. Repeat on every string.
3rd position exercise
Alongside learning how to shift, you must get comfortable playing in a new position. When shifting up the instrument, the notes get closer together and therefore the space between the fingers gets smaller. Because of this, finger spacing is going to feel different in third position than in first, and it’s important to practice exercises in the new position to help with intonation. Additionally, the finger numbers in third position will be different finger numbers than in first. For example, the note “B” will no longer be a first finger-it will be a third finger. There are a wide variety of exercises to use for learning the finger spacing and note positioning in third position, but I like the tonalization at the beginning of Suzuki Book 2, Long Long Ago from Suzuki Book 2, and the Whistler Introducing the Positions
G Major scale with a shift
Players must combine their shifting practice and third position practice to play a two-octave G Major scale with a shift to third position. The shift within this scale is different than the matching game because you will be shifting with the first finger, not on an open string.
Start out on open G string and play the scale until you reach F# (2nd finger on the D string). After playing the F#, lift your second finger up and use the first finger to shift to third position. Continue the scale until you reach fourth finger on the A string. Descend the scale, and after playing the first finger on D string (or the note G), use the first finger to slide back to first position, place your F# (2nd finger) and finish the scale.
How to practice any shift
Practice sliding the finger slowly between the two notes without releasing any weight.
Practice sliding the finger slowly while releasing the weight during the shift. The result should be a harmonic-like, or “ghost” sound.
Speed the shift up with the goal of eliminating the slide as much as possible.
Check out the video below for a demonstration of each step.